July 08, 2026
If you have been around Bouquet Yesterday for a bit, you will know that I am passionate about using all natural materials for crafting and home decor. When autumn is just around the corner and I am thinking about creating home decor for the season of cozy sweaters and pumpkin lattes, the stoIfres have already stocked their shelves with rows and rows of pumpkins in every shape, size, and material. What do almost all of the artificial pumpkins have in common? Plastics and polystyrene foam. These synthetic materials form the base for most seasonal decor. While some would argue that since home decor made from these materials lasts indefinitely, it is a budget-friendly option. It may be easy on the wallet...depending on where it is purchased...but I would much rather spend my time, and my money, on materials that do not add toxins to the environment.
And...natural materials are BEAUTIFUL! Real flowers, handmade paper, wool, cotton, linen...they all have an earthy quality that adds texture and coziness to home decor in a way that a plastic pumpkin will never be able to do.
So what are my options?
My first choice would be decor made from REAL pumpkins and gourds. When the season is over, they become pies, pumpkin seeds for snacking, animal feed and healthy additions to compost. In my dried flower pumpkin kits, I explain a technique that allow the dried flowers to be removed from real pumpkins and saved from season to season.
If you prefer artificial pumpkins in order to re-use decor from year to year, I encourage you to make the effort to obtain pumpkins crafted from natural materials. For a dried flower pumpkin, the two options to be considered are grapevines and paper mache.
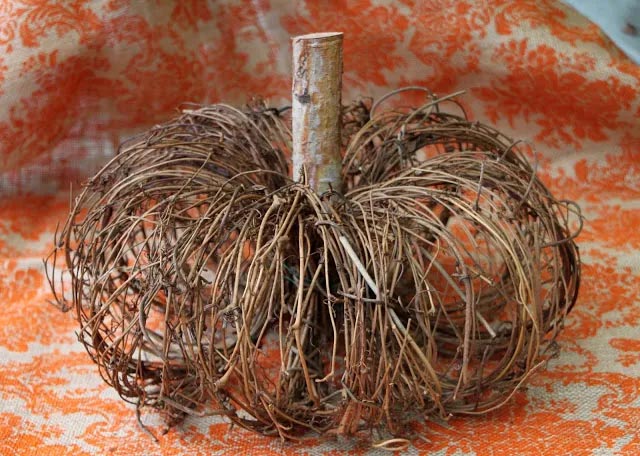
Grapevine pumpkins offer a rustic, homespun base for dried flowers and are available from many online retailers.
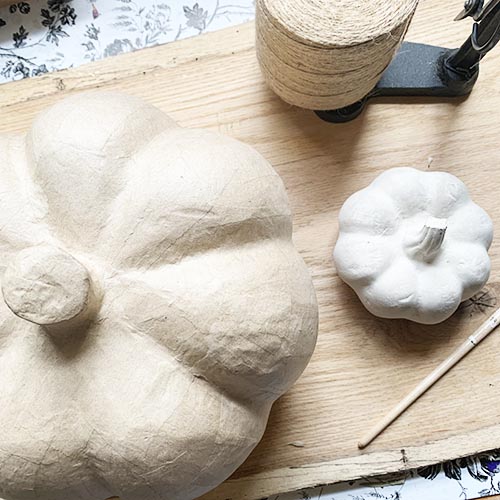
If you desire a more realistic-looking pumpkin, paper mache provides a wonderful non-toxic alternative to a real pumpkin and can be painted to look quite real. When I first researched paper mache pumpkins, I assumed that they all would look like the example on the left...layers of paper forming a cardboard-like structure, available at craft stores. I then discovered that some pieces of paper mache crafted in other countries layer cotton, linen and gypsum paste to make an item that feels as hard and heavy as a ceramic or clay piece. The pumpkin on the right is an example of this type of paper mache. Although it is impossible to verify that either of these pumpkins is truly made completely of non-toxic materials, I would choose them over their molded plastic counterparts anyday!
What is the first step for a realistic looking pumpkin?
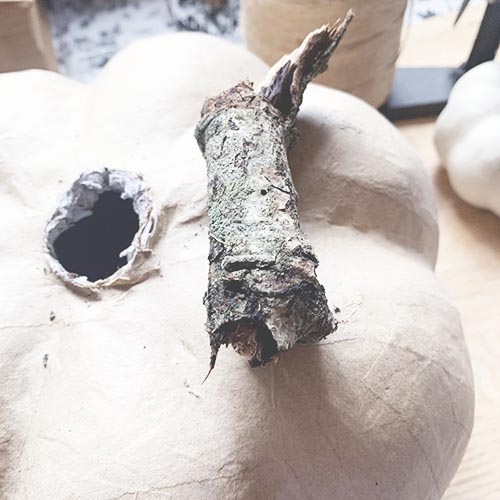
A dead give-a-way for a "fake" pumpkin is the stem! If the paper mache pumpkin is the craft store version, I like to cut out the stem with an Exacto knife and find a short, curved branch to replace it. Solid paper mache stems can be scored and broken off with pliers to look more natural.
How do I paint my pumpkin?
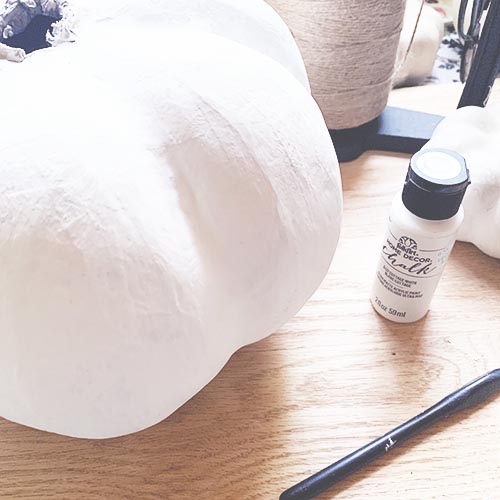
Either type of paper mache accepts paint readily. To make a white pumpkin, I like using a soft white chalk paint. Cover the pumpkin with paint, avoiding obvious brush strokes.
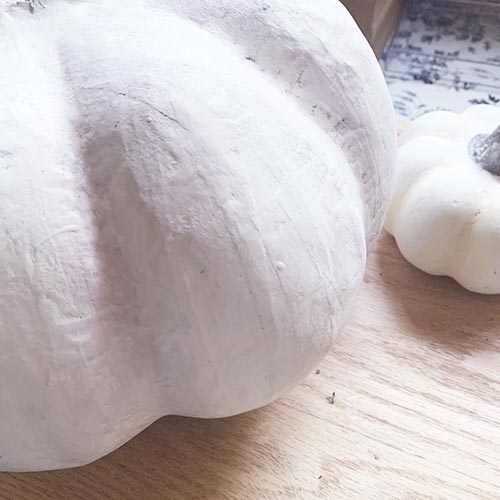
Once dry, use a light-colored antiquing wax to rub into the low ribs of the pumpkin. I use my fingers for this, as I use a homemade beeswax/coconut oil mixture that is safe for skin, but a soft rag works, as well. Rub well to blend the wax into the pumpkin and to give the pumpkin dimension.
What dried materials do I need for my pumpkin?
The base for the florals will be moss...I use sustainably harvested sheet moss in my projects. For a large pumpkin, you will need 5 or 6 "focal flowers"...dried sunflowers work very well for this, as large dried flowers are difficult to find. You will also need many stems of filler flowers, some to fill in spaces around the focal flowers, and some to "jut out" from the arrangement to provide movement. I also like to tuck in some dried greenery; eucalyptus sprigs are readily available, but I have found several other plants dry well.
If you would like a source for florals for this project, I sell a curated kit for this project which includes organically grown and dried florals from my farm, packaged and sent to you, ready to add to your own pumpkin!
What are the next steps?
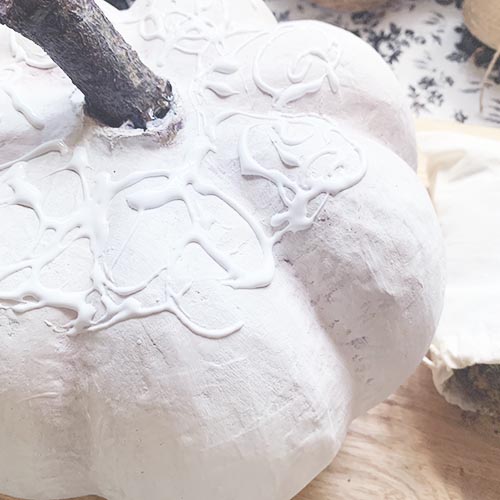
Using craft glue, secure the wood stem in the hole if needed, and then apply a generous layer to the top of the pumpkin. I opt for craft glue over hot glue as it is a less toxic option, but feel free to use a glue gun if you are comfortable with it.
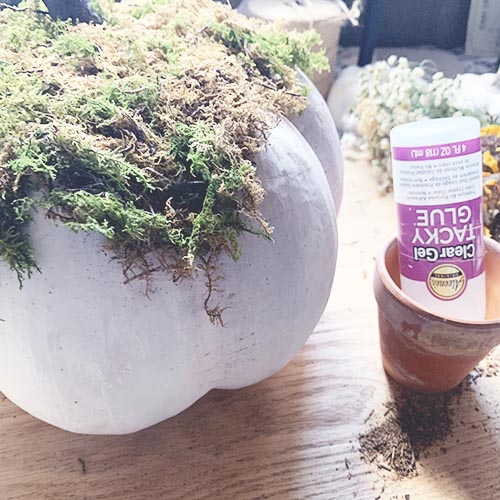
Apply the moss to the top of the pumpkin, adding more glue as needed. The moss should look a bit "uneven" so it looks natural. I like to drape the moss a bit longer down one side. I store my bottle of glue upside-down while I am using it to keep the glue at the tip.
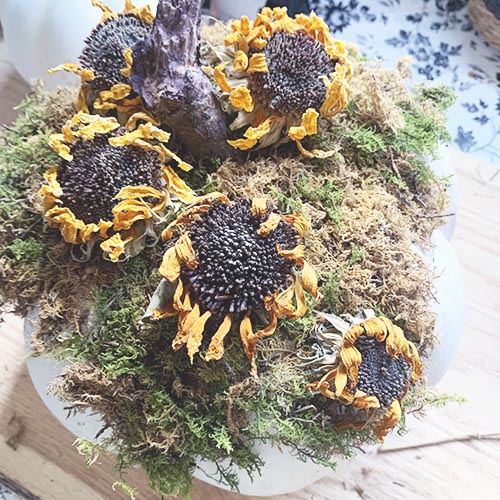
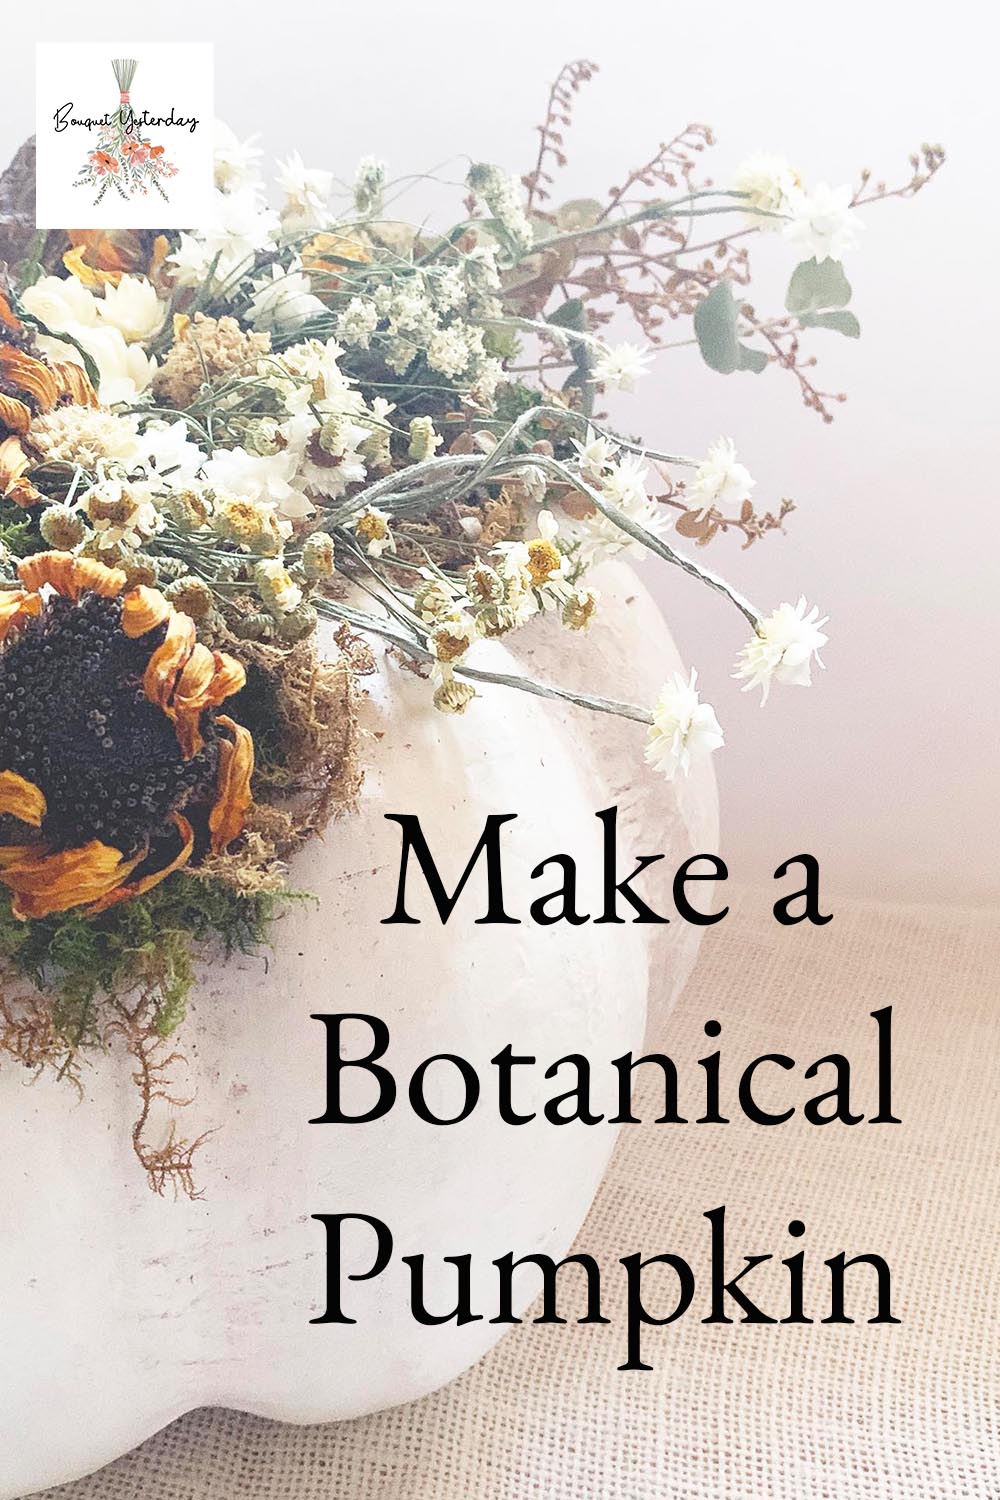
Once the moss is in place, you can glue down your focal flowers. Notice how I clustered most of them around the stem, but then allowed a couple to "spill" down the side where the moss was placed lower on the pumpkin.
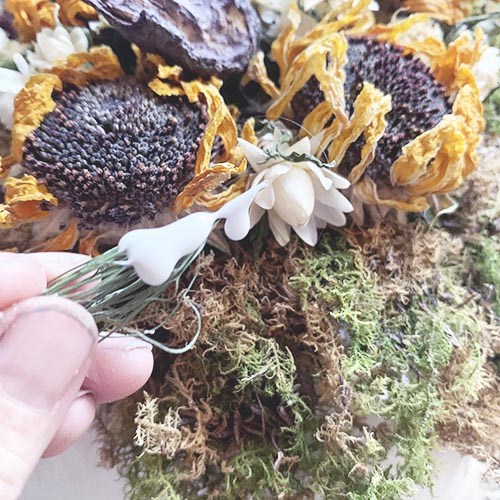
Using generous amounts of glue, begin to tuck your filler flowers around the focal flowers. You can use single stems, or use clusters of smaller flowers and glue the stems in as a group. Longer stems can spray out a bit, and greenery can be tucked along the outside. Try not to make anything too symmetrical...take your time and enjoy creating with nature!
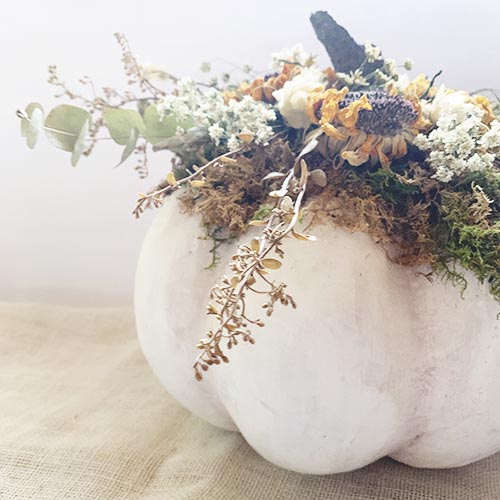
Once your pumpkin looks full and looks how you want it to look, allow it to dry for a full 24 hours. Dried flower pumpkins should be placed in a dry indoor location out of direct sunlight. For off-season storage, if using a faux pumpkin, place it in a covered box and store it in a dry place.
Visit my store HERE to see dried flower pumpkin kits in many color palettes for different sized pumpkins! Here are some samples: